

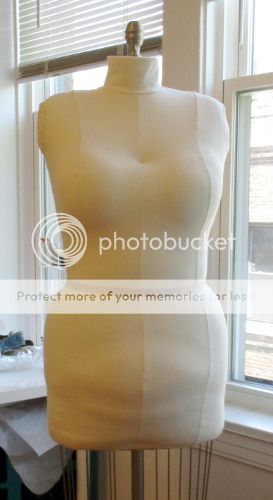
I wasn't about to turn down an offer of a free(!) dress form however it wasn't even close to my size. I knew I was going to have to get creative to turn this from a merely decorative item sitting in my sewing room into a usable tool.
The retail store I was working at closed up and the chain just didn't need all these dress form displays and associates were allowed to take one home each if wanted. In case you're wondering the pixelated spot on the photo is just a blurred out brand logo.This isn't a professional model, just a store display and I forgot to take measurements but it's around a bust 32" waist 26"
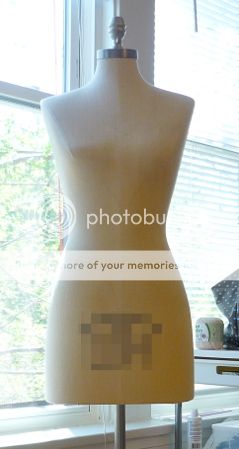
Yeah right
My skeletal frame is wider than this thing. It needed more than just "some padding", it needed a full body transformation. I went to the wise internet to see what everyone else has done. I learned quite a bit about making one out of duct-tape, how expensive professional ones are especially in large sizes, and how much everyone seems to hate their Dritz forms. Most of what I found involved spot padding like widening the waist, putting a bra on it to enlarge bust and so on. I finally found this tutorial on overall enlargement and I used that as my starting point. I had already known about the Fabulous Form padding kit so I had that in mind as well.
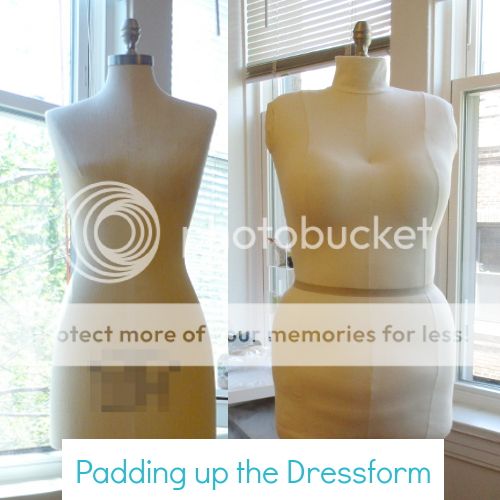
Padding up the Dress Form
Supplies:
- dress form
- accurate and possibly depressing measurements of yourself
- quilt batting (I used poly on the roll because it was on sale that week)
- poly stuffing
- FF padding kit (optional)
- bra (optional)
- needle and thread
- hours and hours of your life
the uneven bottom came back to haunt me later
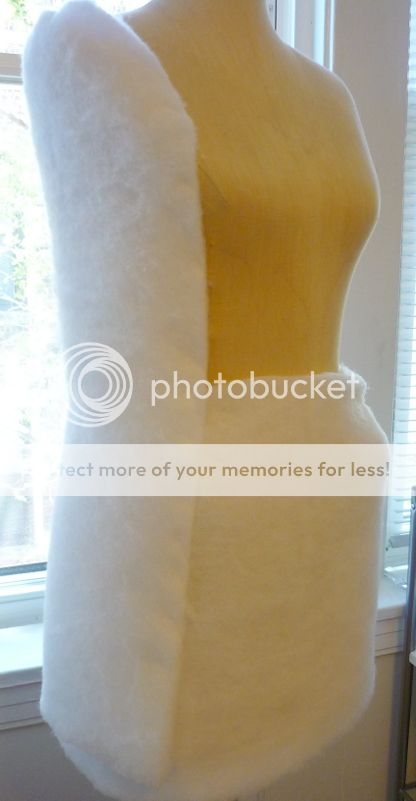
I cut and applied the batting onto the front and back of the form. I cut large rectangles that met at the shoulders and then sort of trimmed them into shape following the curvature of the form as a stitched them to the side panels.

larger
but shapeless
I measured the form and determined it needed another pair of side panels from shoulder to waist to widen it for shoulder point width and a few strips on each shoulder to raise up the bust to shoulder height. The FF padding kit has a pad for bust but it's designed more for someone who is a RTW missy 8 going from a B cup to a C cup. That wasn't going to work for me so I used a bra stuffed with loose batting.
I never liked that bra anyway
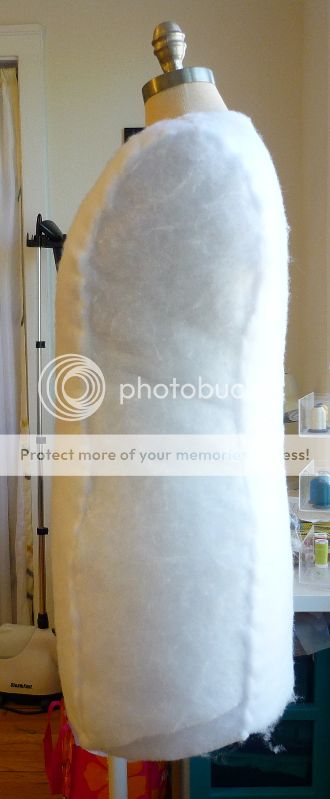
At this point I was so "in the zone" I forgot to take photos. I got the shoulder pads out of the kit and put those on to raise the shoulders even more. I basted on twill tape to take in and mark the waist. I measured the hips and found I needed to add another strip of batting all the way around. The fabulous form kit comes with a knit cover for underneath that you put on to keep the pads on so I donned the cover and started using their pads. I also found that a good way to "spot pad" was to take some of the loose poly stuffing and shove it up between the form and the quilt batting. I used that method to give myself some above-the-waist fat roll and some back fat. During these steps it looked something like this:

it wasn't pretty
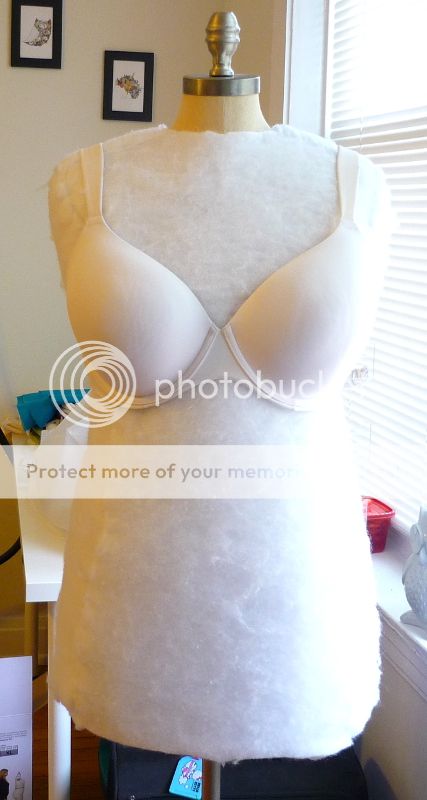
It was a process where I'd stuff or pad then I'd measure or just grope myself and then adjust, adjust, adjust and adjust some more. At this point I should probably mention I spent about 5 days working on this in my spare time either before or after work. I also had my roommate provide some necessary 3rd party opinion on my bumps and fat rolls. There is a great amount of humility involved in sculpting one's own non-idealized likeness. A few times I put the exterior cover on to check on how much it would compress the form. I found I needed to pad some parts like the bra a few inches more than my measurements to get the correct measurement after compression. Finally I put some more twill tape on the exterior to mark waist and I put some muslin in the armhole openings to cover up the quilt batting that was there just to tidy up.
Passable!
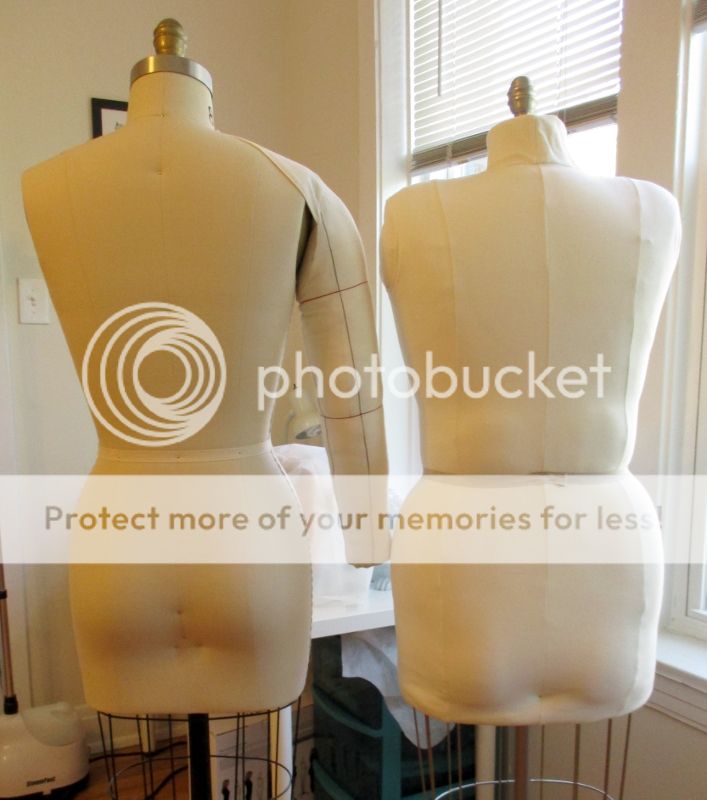
And now here we are. My measurements are bust 42", waist 34" and hips 48". That puts me at around a pattern size 20 top and 22 bottom. I am 5'9" but I have around a 28.5 inseam. Therefore although the form was supposed to be torso and top half of thighs, mine is nothing but torso. I did add a pin right at the very bottom front there to indicate "crotch". The cage is my thighs. My lucky roommate owns a Roxy professional collapsible shoulder dress form. Let's see my humble handiwork next to professional perfecton
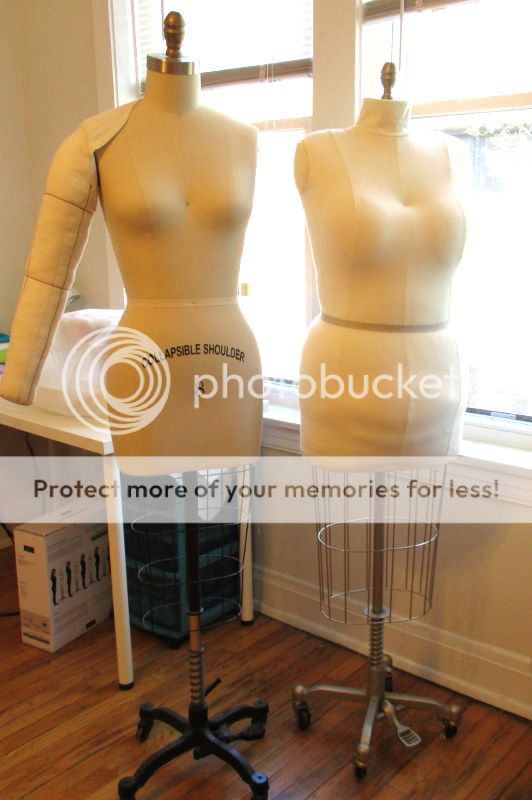
Do I get a gold star for effort?
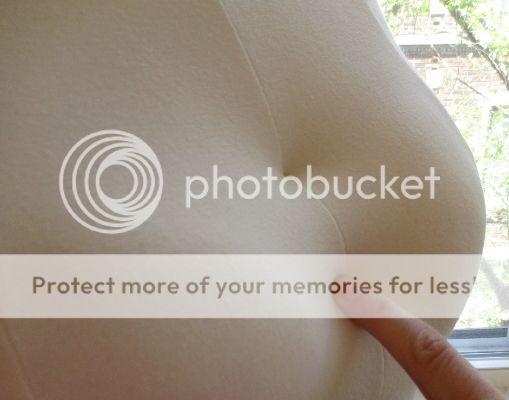
One of the biggest problems with using the fabulous form kit is that the stretch cover doesn't settle between curves so you get "boob loaf". Also as you can see, the lines on the sides should run through bust apex as on the Roxy form. The fabulous form kit cover does not do this for me. I did my best after I took the photos to jerk the cover over to try and run the seam through the apex and it did get a little better. I'll keep trying.

Only professionals get to have two boobs.
The marking pin should be located between breasts at apex level. I put my pin in the chest higher just to pull the cover down so the chest measurement would be accurate. Putting a pin between apex just didn't work because of the cover.
noot noot!
From the side here we can now see why no freaking commercial pattern fits me in the bodice without complete overhaul. My "bust point height", that is from bust apex to shoulder and from apex to waist, is UNREAL. It's like God intended me to be 6'5" and my legs never got the memo. Also my waist tilts. I think that's actually pretty common. I also have major "prominent abdomen" as it were.
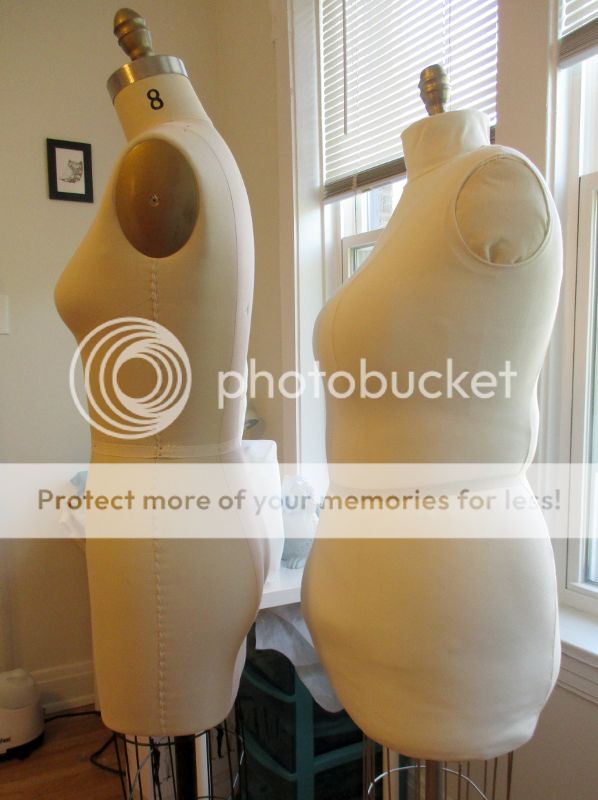
This one is kind of depressing.
In the back we can see the extra broadness added across the shoulders. I used the hip pads from the kit to pad my upper hip area and then I used some stuffing for back fat and I finally found a use for those too-small bust cups as a butt. Hey, they did say to use the pads "anyway that works for you". Also I'd like me an arm like that. A project for a later date.
I evened out my back fat after I reviewed this photo.
Summary:
While it's not perfect and you can see the lines of the batting, bra, and pads through the covers it will do it's job and that's what counts. Most people are not the perfect shape like the professional model so padding up might be the way to go for many people instead of dropping $300 on a form that still isn't that accurate. Overall this was a time consuming project but one that was well worth it
and that I will be using for years to come. It also has various layers
so I can easily adjust it as needed to keep up with my figure. I lucked out on receiving the base form for free and having it be sturdy and strong so that it can handle the extra weight and pressure of the compression covers. It's also nice that the form is now pretty much fully pin-able.
The Fabulous Fit Kit:
Many of the reviews on Amazon touch on the low quality of the covers and they are right. Already some of the serging around the armholes on mine has come undone and I had to sew up one spot that came apart during the fitting process. The kit comes in S-XL sizes but the only difference is the size of the covers you will receive. The pads are the same size for all kits and they're decidedly for a missy straight size, not a full figure. The largest size available 55" bust so plus sizes are SOL. Some of the reviewers on Amazon complain that they couldn't get their cover on even though they were within the size range stated for that size using FF's size chart. Personally I didn't have this problem at all and I was putting an L size onto a form where the bottom half was actually the XL size. You do have to kind of push the form against a wall and roll the covers on like pantyhose but I was flying solo and still got them on and off multiple times. Maybe the sizes of the covers have been adjusted since those complaints were made? Obviously I already touched on the problems of the seam lines and the "uni-boob" up above. I should also mention that if you did happen to have a collapsible shoulder model, you might have some trouble with the kit's shoulder pads and using the collapsible feature.
If you're on a budget and can't afford or justify the kit or just flat out of the size range you could make your own stretch cover and just keep making shapes to pad the form out of batting or foam.
Comments are enabled but moderated.


No comments:
Post a Comment